
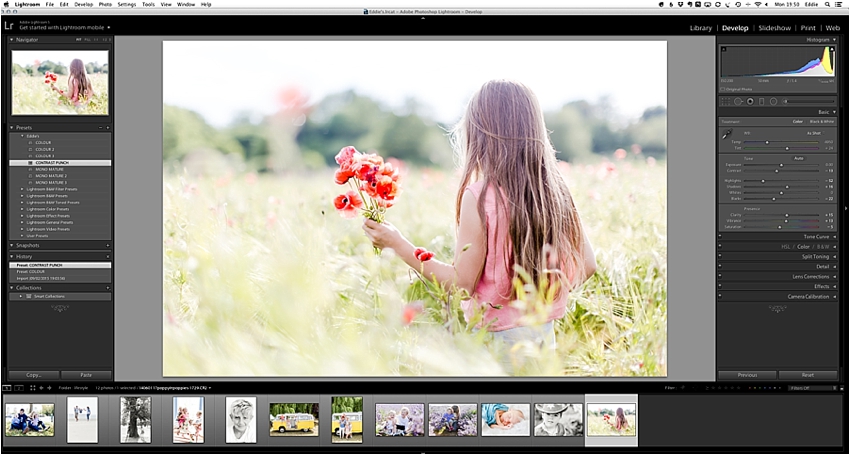

Great – you’ve taken a step towards reclaiming your time and purchased some of my presets. They are super easy to install:
PRESETS:
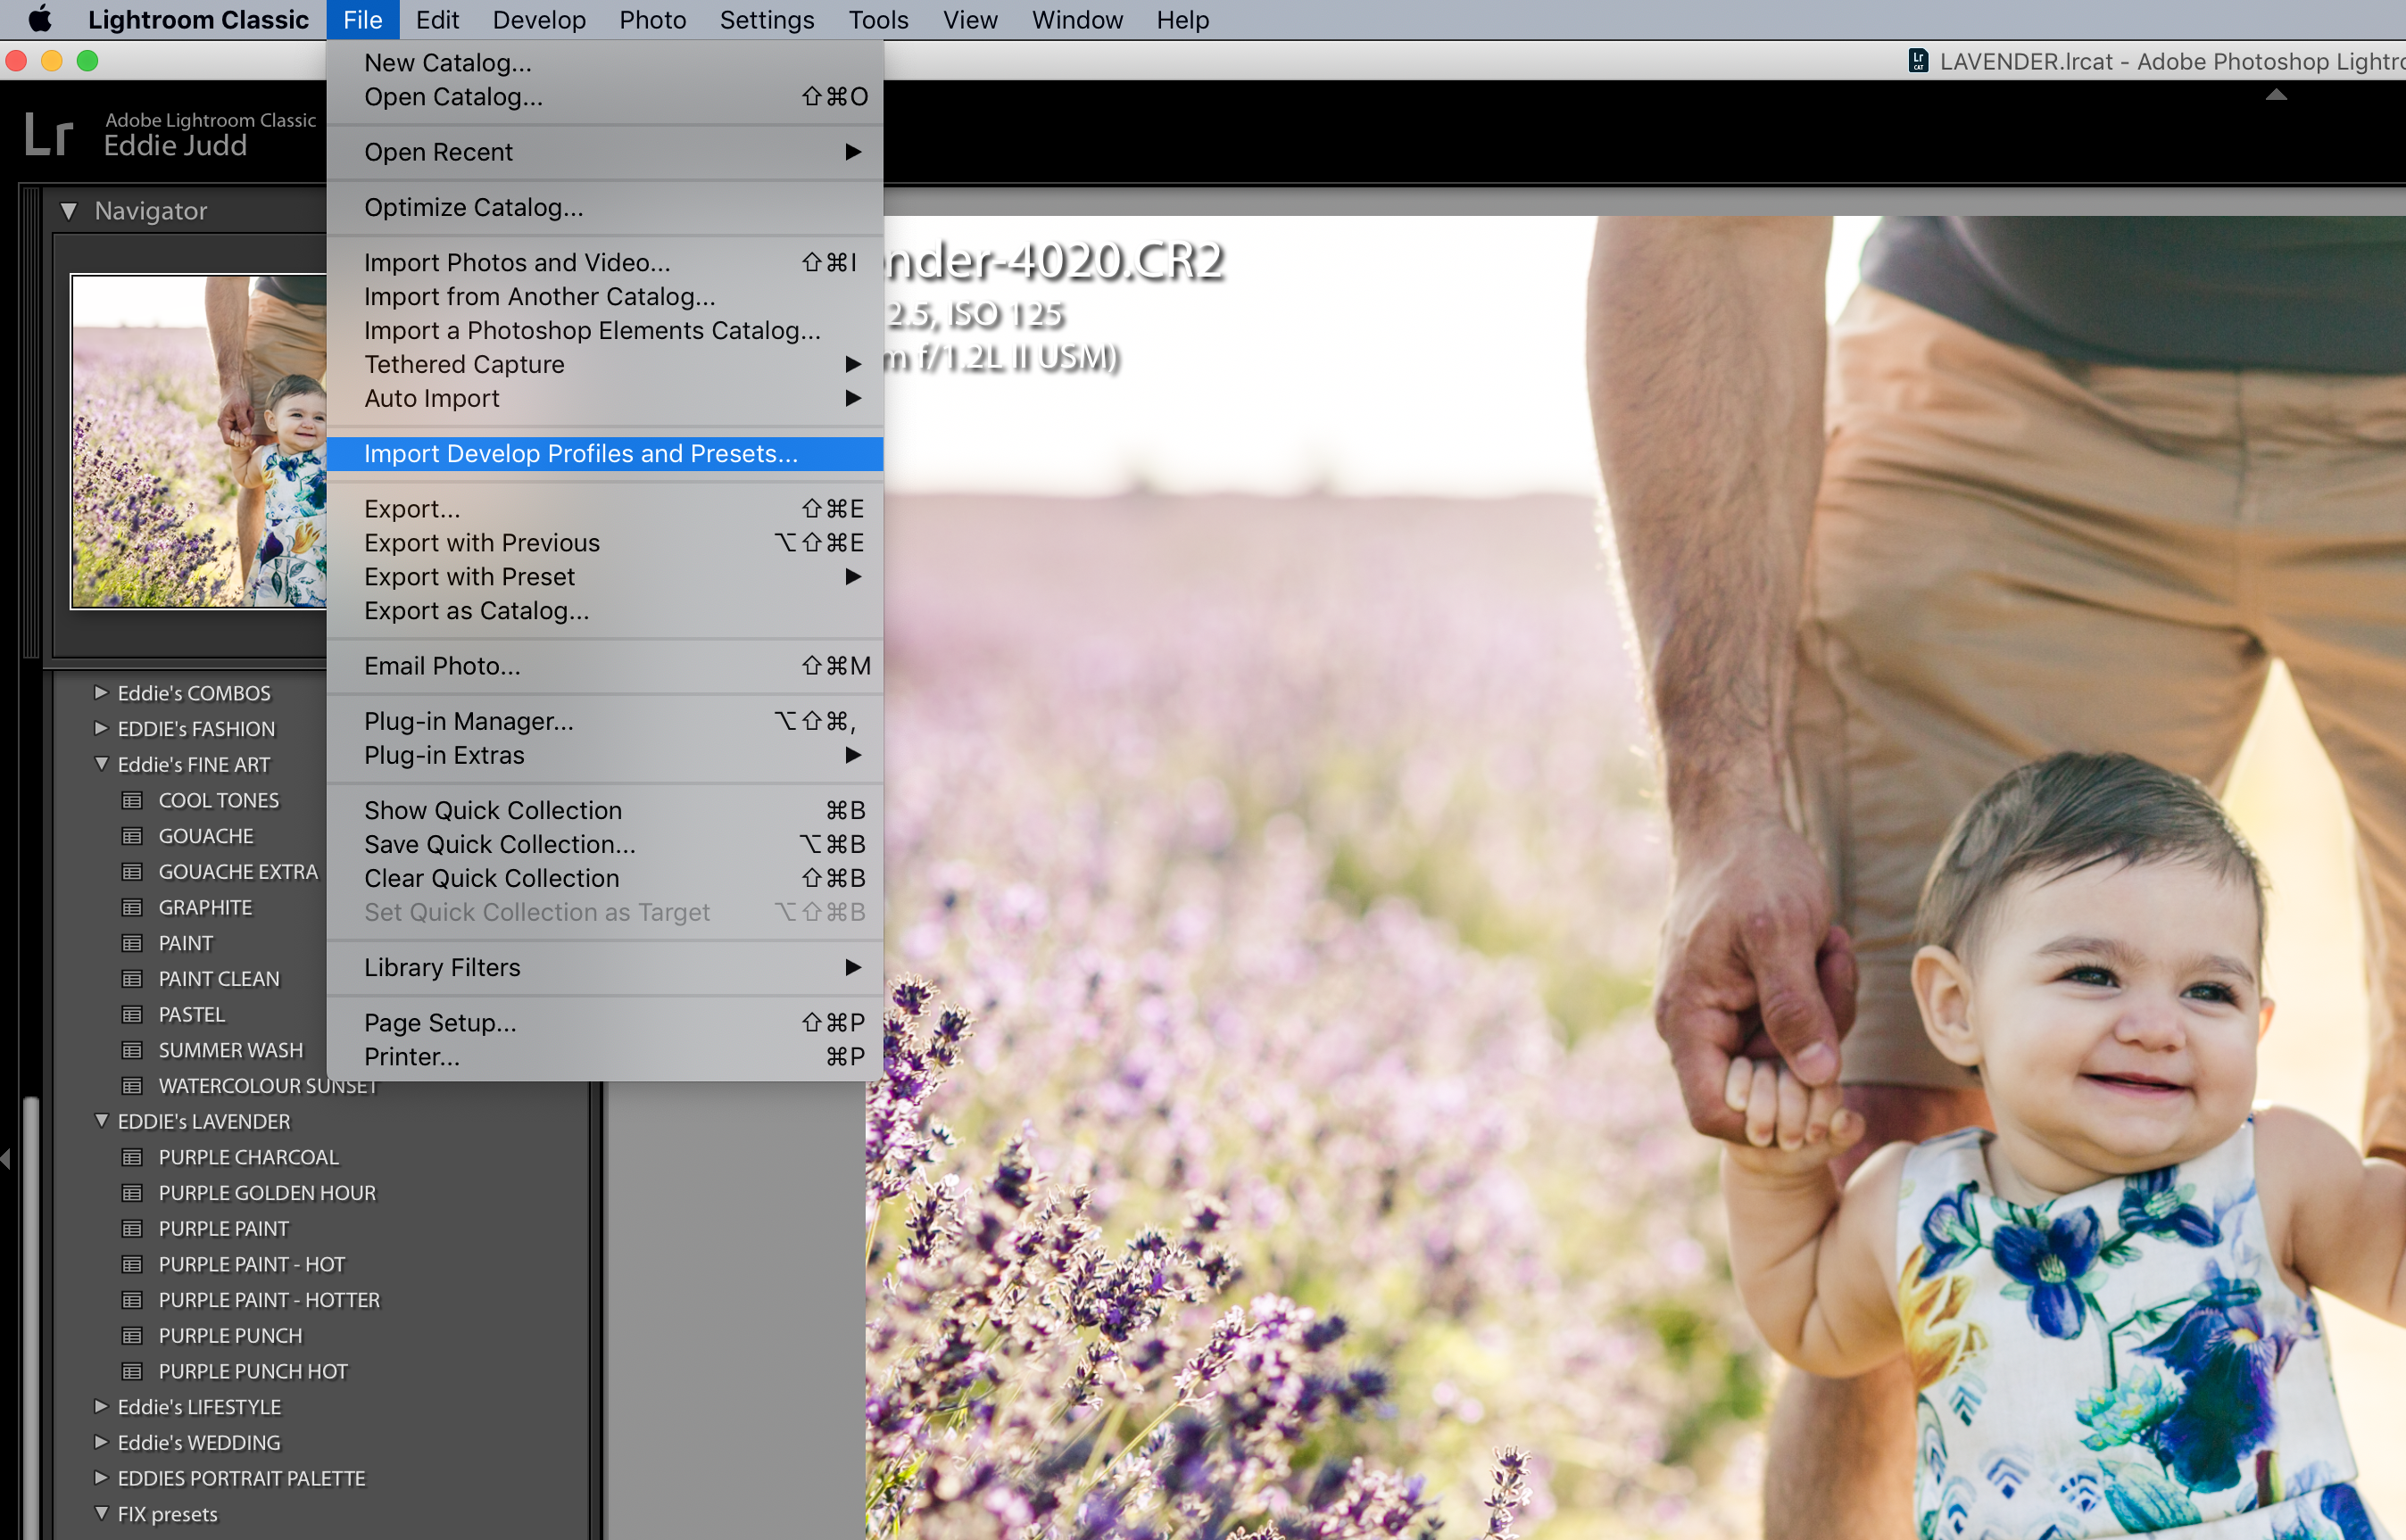
Lightroom Version 11 ONWARDS – your preset files will end in .xmp – use the ‘Import Develop Profiles and Presets’ as below. ALWAYS restart Lightroom once followed these instructions!
If you’d like to up your knowledge on how to use and understand your presets then book in a 1-1 with me!
——————————————————————————————————–
BRUSHES
Here’s a little video to follow – and written instructions below…
1 – To install your brushes into Lightroom Classic you need to click on ‘Show other Lightroom presets folder’ in the Preferences > Presets tab. Open the folder ‘Lightroom’ then the folder called ‘Local Adjustment Presets‘

2 – Drag the brushes from the unzipped folder in the brushes section into this folder.
3 – Restart Lightroom to see your brushes


——————————————————————————————————–
FOR ANY OLDER .lrtemplate PRESET files
follow instructions below:
1 – unzip your purchased Eddie’s presets folder. The folder will contain two sub-folders called ‘Presets’ and ‘Brushes’ as they need to be stored in different places.
2 – Open Lightroom and go to Preferences (under Lightroom tab on a mac and Edit tab on a PC)
3 – Click on ‘Show Lightroom All Other Presets folder‘ in the PRESETS tab. This will bring up your Finder window with the relevant folder.
4 – Go to the ‘Develop Presets folder‘ and create a folder named ‘Eddie’s presets’ or the name of the collection you have purchased i.e.: ‘Eddie’s Essentials’
5 – Drag contents of the folder from no.1 into this new folder you have just created. Make sure you are only dragging the presets (marked .lrtemplate) not the brushes as well
6 – Restart Lightroom. Your presets are now installed!
———————————————————————————————————